Example
Learn how to use Docker Compose with Dokploy
Tutorial
In this tutorial, we will create a simple application using Docker Compose and route the traffic to an accessible domain.
Note: There are two ways to configure domains for Docker Compose applications:
- Using Dokploy Domains (Recommended): Configure domains directly in the Dokploy UI through the Domains tab. See the Domains guide for details.
- Manual Configuration: Configure domains using Traefik labels in your Docker Compose file (shown in this tutorial).
This tutorial demonstrates the manual method. For most users, we recommend using the Dokploy Domains feature as it's simpler and doesn't require editing your Docker Compose file.
Steps
- Create a new project.
- Create a new service
Composeand select the Compose TypeDocker Compose. - Fork this repository: Repo.
- Select Provider type: GitHub or Git.
- Select the repository:
Dokploy/docker-compose-test. - Select the branch:
main. - Set the Compose Path to
./docker-compose.ymland save.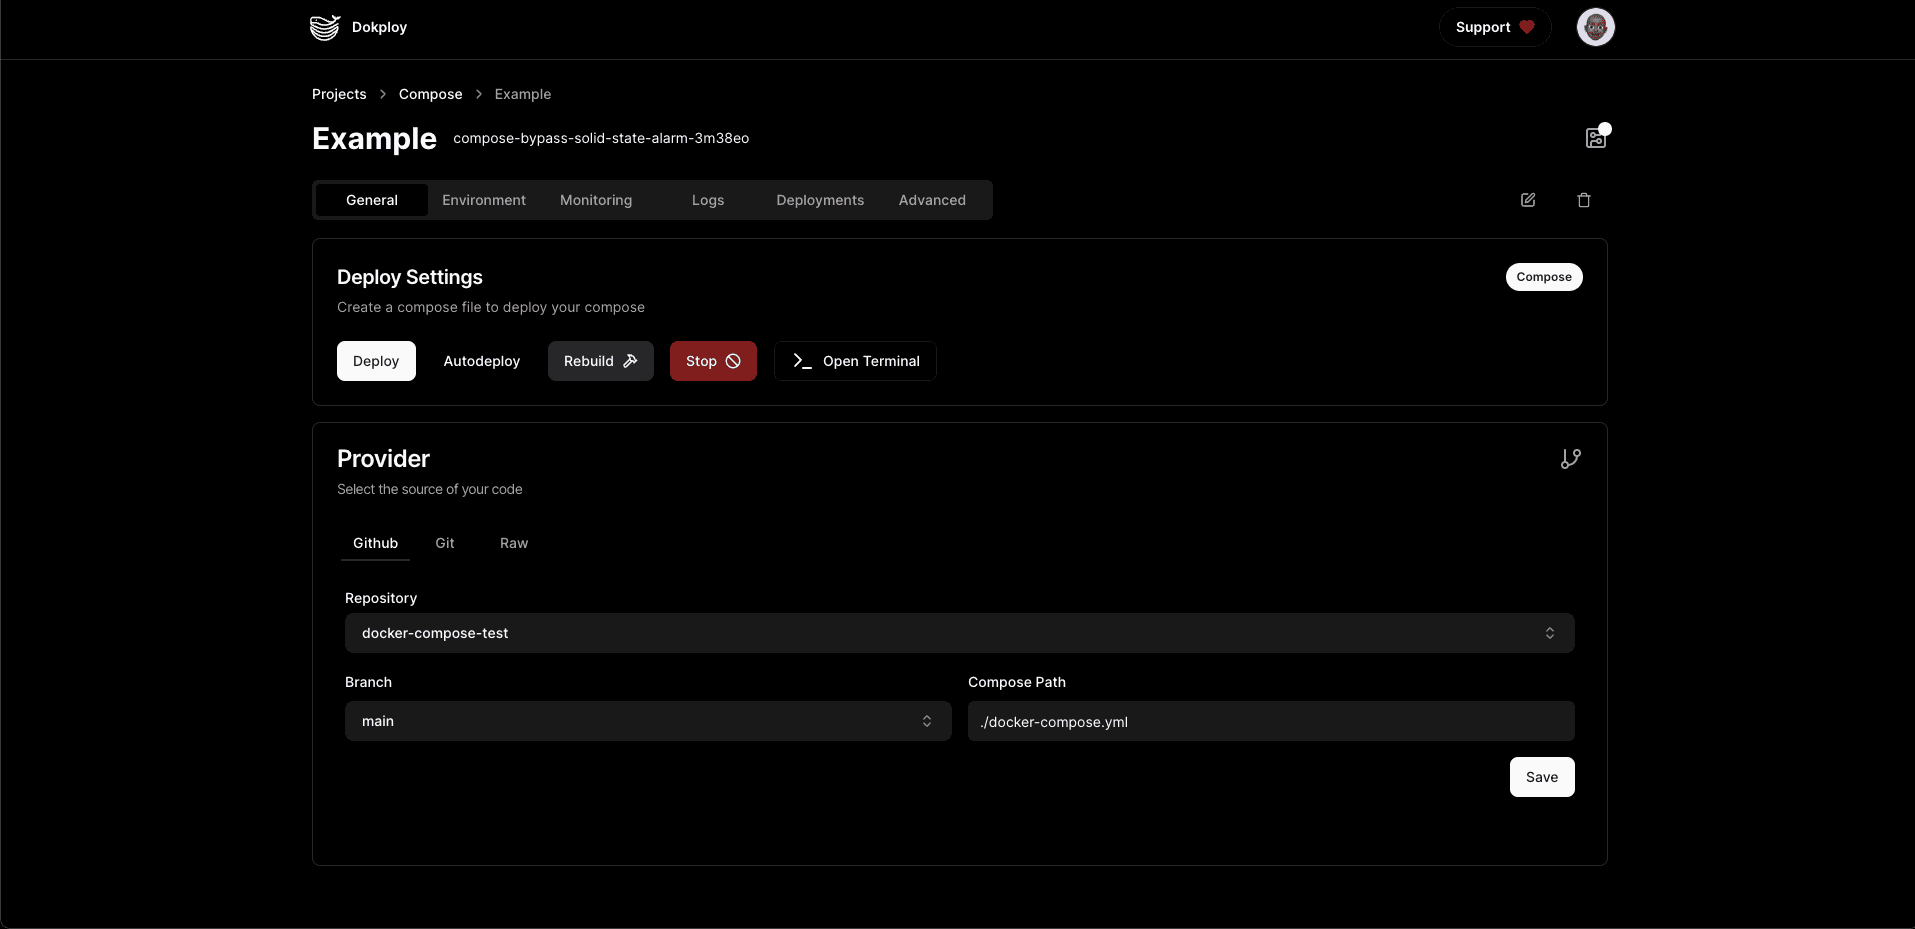
Updating Your docker-compose.yml
Add the following to your existing docker-compose.yml file:
- Add the network
dokploy-networkto each service. - Add labels for Traefik to make the service accessible through the domain.
Example:
Let's modify the following compose file to make it work with Dokploy:
version: "3"

services:
  next-app:
    build:
      context: ./next-app
      dockerfile: prod.Dockerfile
      args:
        ENV_VARIABLE: ${ENV_VARIABLE}
        NEXT_PUBLIC_ENV_VARIABLE: ${NEXT_PUBLIC_ENV_VARIABLE}
    restart: always
    ports:
      - 3000:3000
    networks:
      - my_network
networks:
  my_network:
    external: true
Updated version with dokploy-network and Traefik labels:
Don't set container_name property to the each service, it will cause issues with logs, metrics and other features
version: "3"

services:
  next-app:
    build:
      context: ./next-app
      dockerfile: prod.Dockerfile
      args:
        ENV_VARIABLE: ${ENV_VARIABLE}
        NEXT_PUBLIC_ENV_VARIABLE: ${NEXT_PUBLIC_ENV_VARIABLE}
    restart: always
    ports:
      - 3000
    networks:
      - dokploy-network
    labels:
      - "traefik.enable=true"
      - "traefik.http.routers.<unique-name>.rule=Host(`your-domain.com`)"
      - "traefik.http.routers.<unique-name>.entrypoints=websecure"
      - "traefik.http.routers.<unique-name>.tls.certResolver=letsencrypt"
      - "traefik.http.services.<unique-name>.loadbalancer.server.port=3000"
networks:
  dokploy-network:
    external: true
Make sure to point the A record to the domain you want to use for your service.

Deploy the application by clicking on "deploy" and wait for the deployment to complete. Then give Traefik about 10 seconds to generate the certificates. You can then access the application through the domain you have set.

Tips:
- Set unique names for each router:
traefik.http.routers.<unique-name> - Set unique names for each service:
traefik.http.services.<unique-name> - Ensure the network is linked to the
dokploy-network - Set the entry point to websecure and the certificate resolver to letsencrypt to generate certificates.
- For Docker Stack: If you're using Docker Stack (Docker Swarm mode), place the labels under
deploy.labelsinstead of directly underlabels. See the Domains guide for the Docker Stack configuration example.